With built-in WiFi, the Sony a7 series of cameras have incedible native tools for image sharing. It’s possible to quickly transfer images to smartphones or tablet. Despite the built-in connectivity in the cameas, users often found it difficult to transfer images with iOS. Recent camera firmware updates and iOS 8 seem to have fixed the problems for iOS users.
The result is a camera-to-device system that’s just about as streamlined as you can get, and it allows photographes to go from caputre to social media (or other uses) in just a few steps.
Here’s what it takes to configure and use the Sony a7 cameras and Sony Playmemories app on the iPhone or iPad. The steps are nearly identical for Android devices (without NFC setup of WiFi) with the WiFi settings being in a different place.
Download PlayMemories Mobile
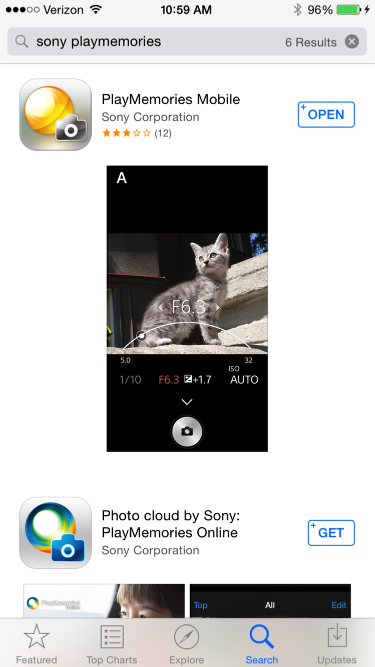
From the iTunes store, search for “Sony PlayMemories” (you dont’ need to use the capitailzation) and download the app.
Configure the Camera
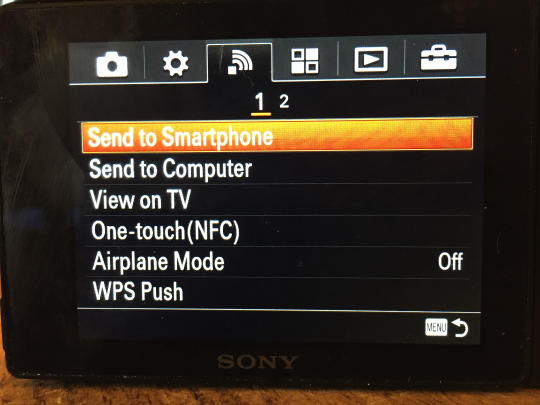
Press the Menu button on the back of the camera and use the control-pad to move to Send to Smartphone.
Select on Smartphone
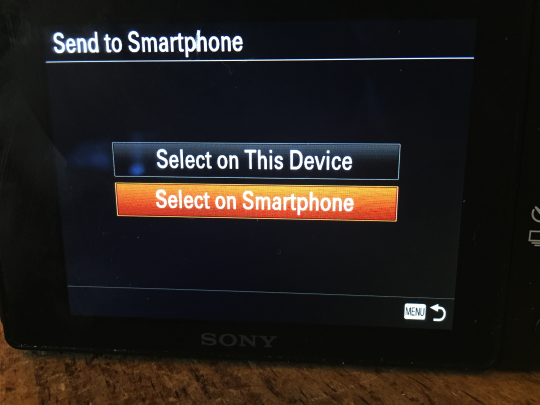
The camera provides the option to select the images on the camear or on the smartphone. I highly recommend selecting the images on the phone, for a few reasons. The first is that the process of selecting and trasnfering images is much faster when performed on the phone or tablet. You can dive into dates and tap multiple images at one go (which I’ll show below) and transfer them all at once.
The other reason we prefer to use the smartphone to select images is that there are fewer steps to trasnfer images than selecting on the device. (I’ll walk through the cumbersome process after covering the faster way to achieve this.)
Configure WiFi
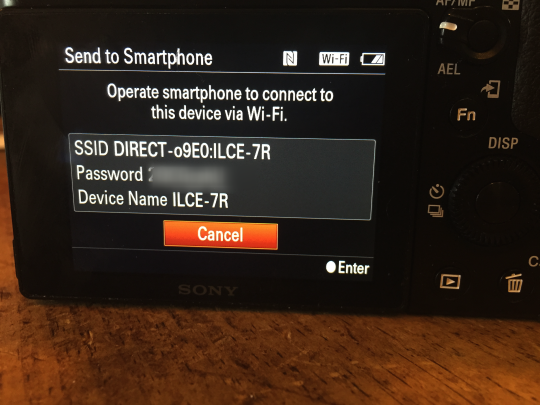
Once you choose Select on Smartphone the camera activates WiFi and creates an access point, which you’ll need to enter on your device
Select The Camera’s WiFi Access Point
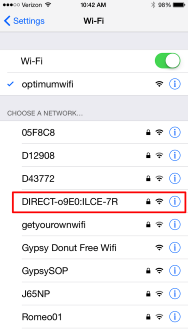
From the WiFi settings, choose the Sony’s WiFi access point. The first time you connect, you’ll need to enter the password displayed on the back of the cameara. Unless you ask the camera generate a new password, this will stay the same between sessions so you’ll only need to enter it the first time you configure the device.
Sharing Starts
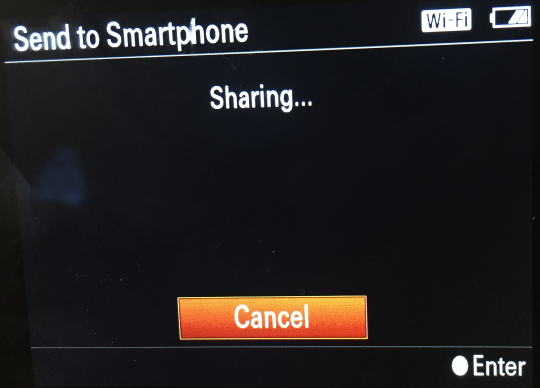
As soon as the connection is made to the a7 camera, a status message will display that shows that sharing has started.
Settings Configuration
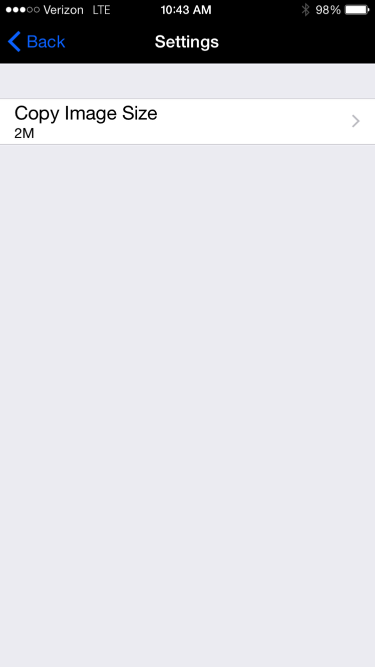
By default the app will transfer 2MP images, but if you click the Settings on the top right of the app you can select Original or VGA. If you’re only posting to Instagram, VGA is more than enough resolution to transfer and will speed up the prcoess. Original is a good choice if you’re trying to send your original file to a client.
Select From Available Dates
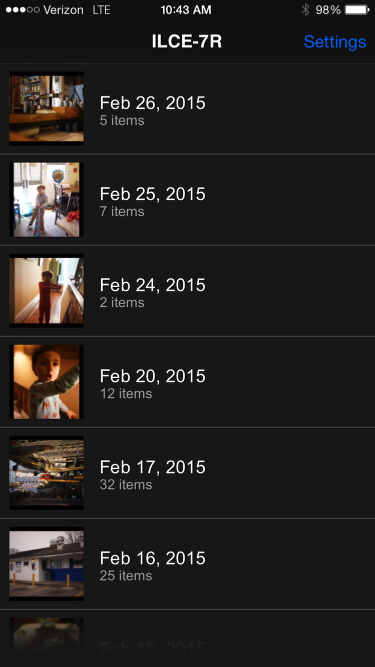
The PlayMemories app will indicate that sharing is starting, and then will display the contents of the a7 card in a date-based view. This is one of the reasons I prefer to select images on the mobile device rather than on the camera–with the camera’s contents organized according to date it’s much easier to figure out exactly what images you’d like to import if you have more than one shoot on your card.
Tap on a date to jump into the images for that day.
Select Your Images
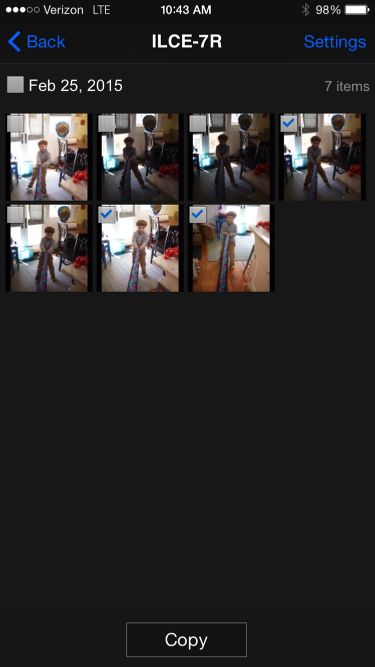
The next screen is the strongest part of using the mobile device to select the images. You can tap on the checkbox on the upper left corner of an image to select it, or click an image to jump into a full-size preview. You can swipe through images in the full-size mode just as you would swipe through your camera roll.
When you’ve picked all the images you’d like to transfer, hit the Copy button.
Images Copy to Device
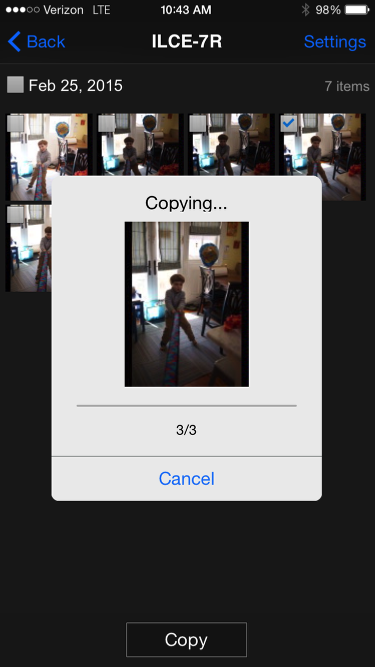
The app will display a status indicating the number of images copied, and remaining. Thanks to the WiFi connection, the process is pretty fast.
Transfer Complete
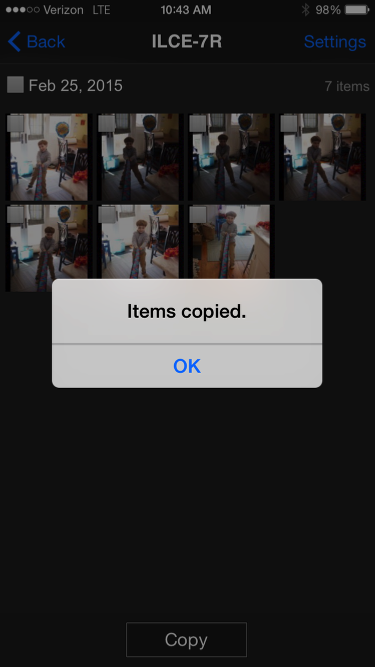
Once the image transfer is complete, simply power off the a7 to disable the WiFi connection. Images are now in the Camera Roll. Post them to Facebook, import them into Instagram and email them to clients.
Alternate Transfer: Select on Camera
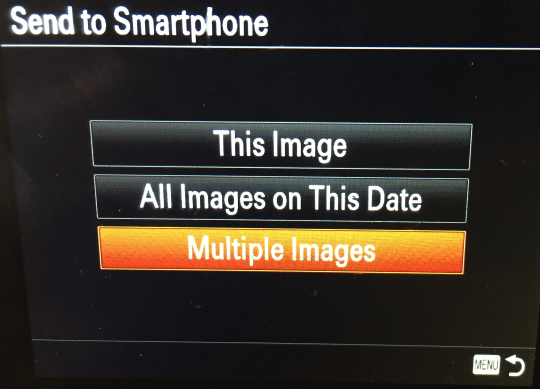
The second way to transfer images is to select them on the camera. Instead of selecting Select on Smartphone choose Select on This Device under Send to Smartphone. Select This Image to send the currently selected image, All Images on This Date for all of the currently selected image’s capture day or Multiple Images to select images on the camera. Both This Image and All Images on This Date are automatic, so you can skip to Execute below.
Select Images
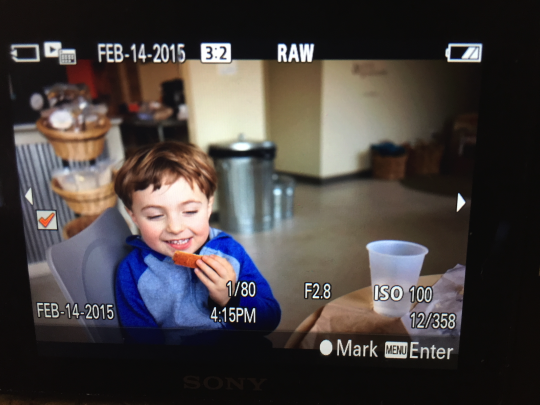
To select an image to transfer, press the rear control dial’s center button for any image you’d like to send to the mobile device. Press the Menu button to transfer the seleced images.
Agree
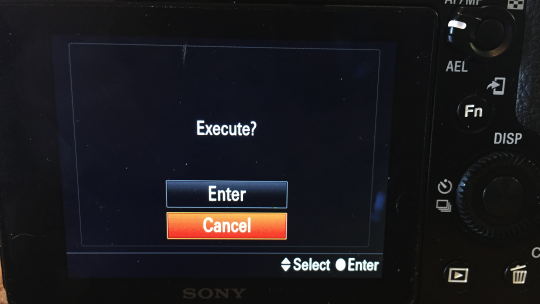
Select Execute to send images to your mobile device.
Configure WiFi
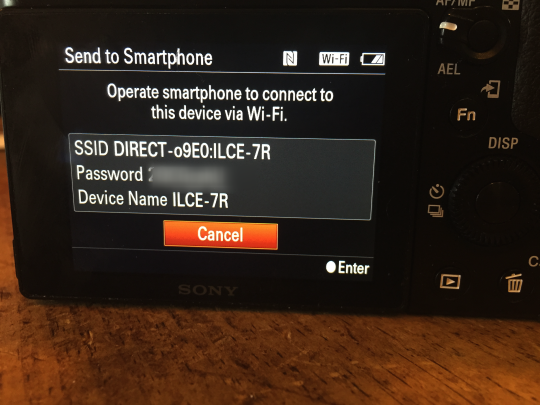
The next few steps are identical to the process of selecting the images on the mobile device—you’ll need to configure your mobile device to connect to the WiFi point on the camera. Since this method requires connecting in the middle of the transfer process, I prefer to select images on the mobile device.
Select on Device
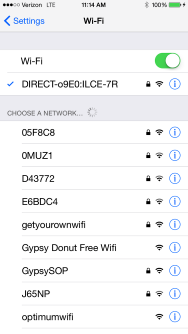
Once again, select the WiFi of the camera in the WiFi settings on the mobile device, and the trasnfer will automatically start, if PlayMobile is running. If it is not, launch PlayMobile now and images will begin to transfer automatically.
My daily shooter is Sony A1 with a vertical grip and various Sony lenses attached like the FE 20mm F1.8. Find more gear recommendations in our shop. As an Amazon Associate I earn from qualifying purchases.
