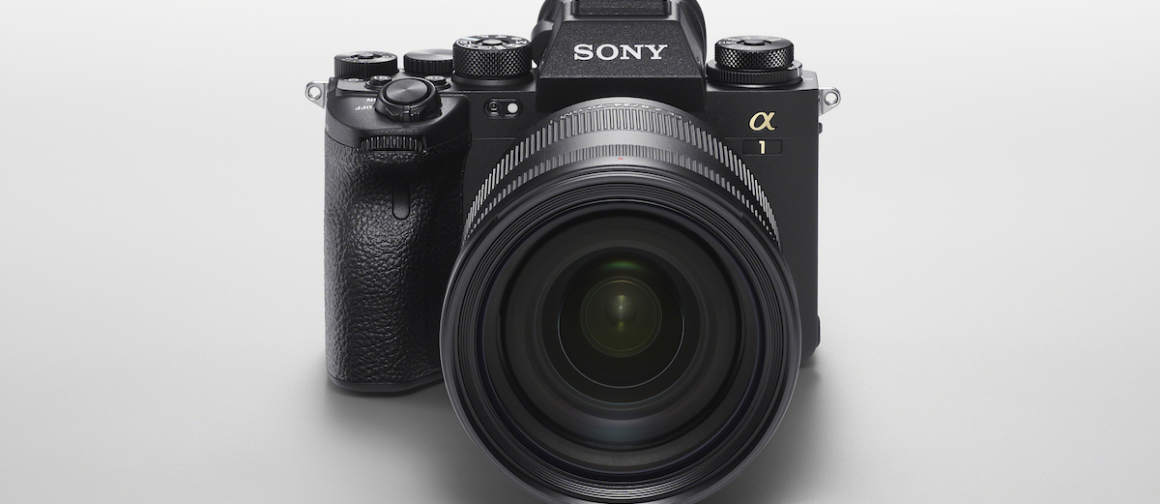
Sony A1 Setup Guide

My friend Colby Brown has published a Sony a1 setup guide that I’m reading now. My a1 ($6498 from B&H) just arrived and once set up, I’m ready to start shooting with Sony’s tech tour de force. Launched last month, I immediately placed my order for a camera that firmly establishes the future of mirrorless. I’ll use my a1 for anything from portraits, landscapes, and sports.
It goes without saying, the drone is meant to pair with the a1 too.
While the Sony a1 does have a lot of new features and settings worth talking about, it is important to start our focus on the basic settings/menu items that you should take a look at with every Sony mirrorless camera. Assuming you have turned on your camera for the first time and adjusted the date/time/area for where you live, these are the settings you want to look at first and make sure you have dialed in as needed.
Sony A1 Setup Guide Notes
The menu system is too different to use my a9 II settings, so I’m starting over and working through new menu choices like JPEF/HEIF and lossless RAW compression.
Found in the “Shooting” menu under “1: Image Quality” you will find “JPEG/HEIF Switch”. Here you can choose between JPEG, HEIF (4:2:0), or HEIF (4:2:2) with the latter offering the highest degree of color sampling/quality.
And, of course the first thing I’m going to try is 30 FPS with images to follow.